
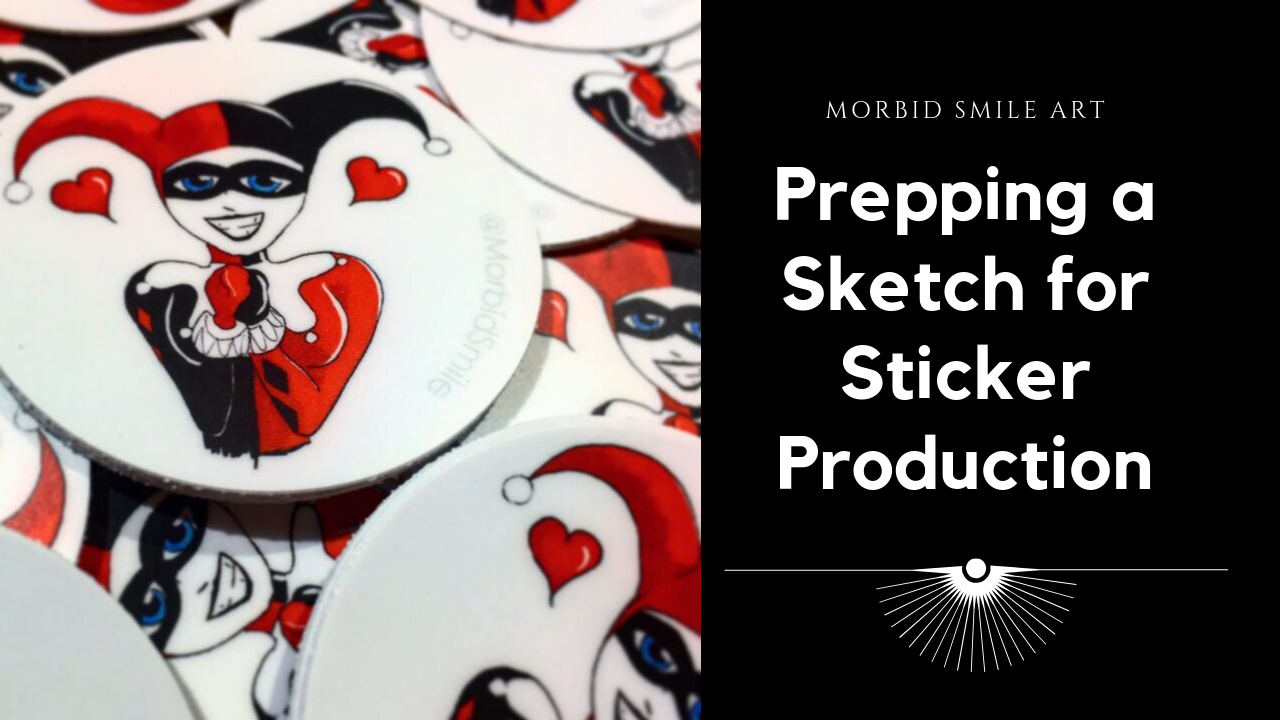
I’ve had a lot of people show interest in my stickers and sticker packs, so I thought I’d put together some information on how a traditional drawing or painting becomes a sticker. For this example, I used my Harley Quinn sticker called “Harley’s Love.”
Step 1: Scanning
This is pretty straight forward. If you don’t have access to a scanner, a clear, well-lit photo taken without shadows, preferably in daylight, works just fine. The goal is to get all that detail so when you go to edit the image, you have true color outcomes.
Step 2: Editing
I use Photoshop CSS fpr this part but you can use whatever photo editing software you like. I use Repix plus Photofox when editing on my phone. I’m not familiar with Android apps, but these work fine on my iPhone 6s.
Step 3: Printing
I’m still practicing my in-studio printing and don’t yet feel comfortable offering those to customers. In lieu of that, I use two different services: Sticker Mule and Sticker App. Both offer ways to customize your image, are weatherproof, and print on a variety of surfaces and textures. Best of all, they both offer proofs so you can see what you’re printing. Sticker Mule does one better by messaging you what the print will look like before charging your account. They’re both great for different types of stickers.
And that’s it! It took me lots of trial and error before I found this method, and it’s worked great so far. Check out my video discussing the process here.
Check out the finished stickers here. And the print of my original drawing “Harley’s Love” is here.
Here are some ways to support me and what I do. I always appreciate shares, comments, follows, and likes.
Small businesses live or die by word of mouth. Sharing, following, buying from, or donating to me helps immensely.


Leave a Reply